Now might be the right time to update to Windows 10 if you have a virtual machine running Windows 7. You don’t really want to keep on running with a VM that is no longer receiving Windows Updates.
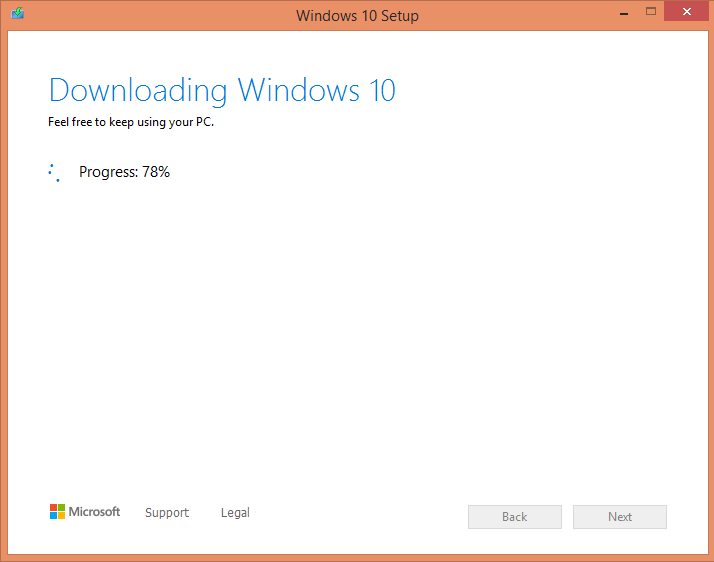
Upgrading from Windows 7 (or 8) is as simple as downloading and running the installer from https://www.microsoft.com/software-download/windows10 This is still free, even today in Januari 2020.
This week at the VMware Forums there was a few people who had problems upgrading to Windows 10. The error is as follows:
“This device isn’t compatible in Windows 10. Contact the manufacturer for more info.
LSI Adapter, Ultra320 SCSI 2000 series, w/1020/1030″
You would see a similar error if you happen to use a Buslogic scsi adapter. Neither of those adapters have drivers for Windows 10 and as such the update gets stuck in a continuous loop.
Luckily though we are running a VM and changing hardware is therefor relatively easy and comes at a minimum cost (it is free!) But, you can’t just change the adapter as then you will end up with problems booting. There is however an easy way around that issue.
So cancel the upgrade and follow these steps. The screenshots below are for Windows 8, but it will also work for Windows 7. This article is written for VMware Fusion, but the same trick also works for VMware Workstation Professional and VMware Workstation Player.
Prerequisites:
- Make sure your Windows is activated,
- that the virtual hardware is up-to-date and
- that VMware Tools is installed and the most recent version.
Step 1: Shut down your VM and make a backup
You can make a backup by closing VMware Fusion (or VMware Workstation) and make a copy of the complete VM to an external disk.
Step 2: Add the LSI SCSI SAS controller to the VM.
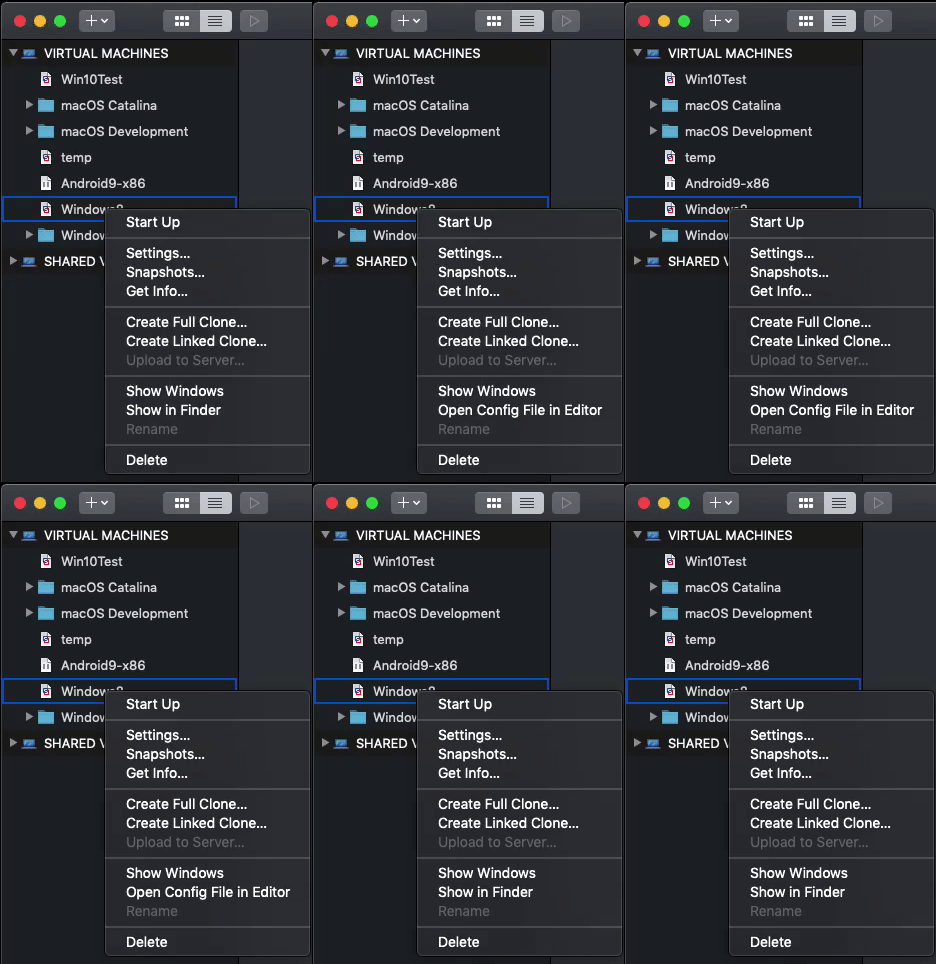
With the VM shut down and the VM window closed, go to Virtual Machine Library in VMware Fusion. Then select the VM, use right click (Ctrl+click) and hold down the option key. In the context menu, the option “Show in Finder” will change into “Open Config File in Editor”

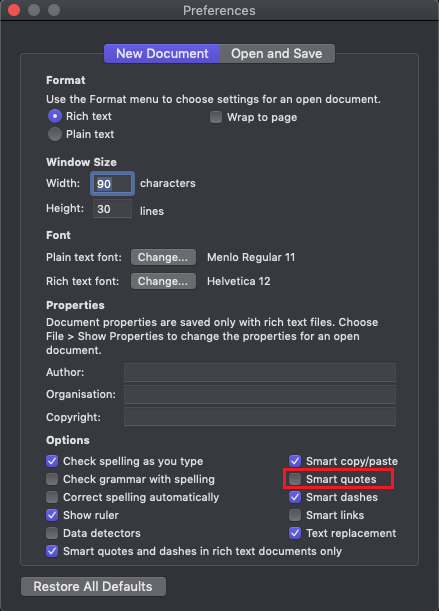
In TextEdit, make sure you do not have smart quotes enabled. (File menu -> Preferences, the checkbox should not be ticked)

With all that out of the way, now look for the following bit of text in your vmx file. Please be aware that the lines do not have to be in this order, they can be anywhere in the .vmx file.
If you have a buslogic scsi adapter you will have this snippet:
scsi0.present = "TRUE"

scsi0.virtualDev = "buslogic"

buslogic.noDriver = "FALSE"
If you have a parallel LSI scsi adapter, then you will have this snippet:
scsi0.present = "TRUE"

scsi0.virtualDev = "lsilogic"
We need to be able to use the LSI Logic SAS scsi driver. We cannot change that here now as Windows will not be able to boot. So instead we are going to let Windows load the new driver for us.
Add the following line to your .vmx file.
scsi1.present = "TRUE"

scsi1.virtualDev = "lsisas1068"
Note that instead of scsi0 it now says scsi1. This is important!
We are adding a new LSI SAS adapter in addition of the scsi adapter we already had.
Now save the file and exit TextEdit.
Step 3: Load the drivers for the new scsi controller.
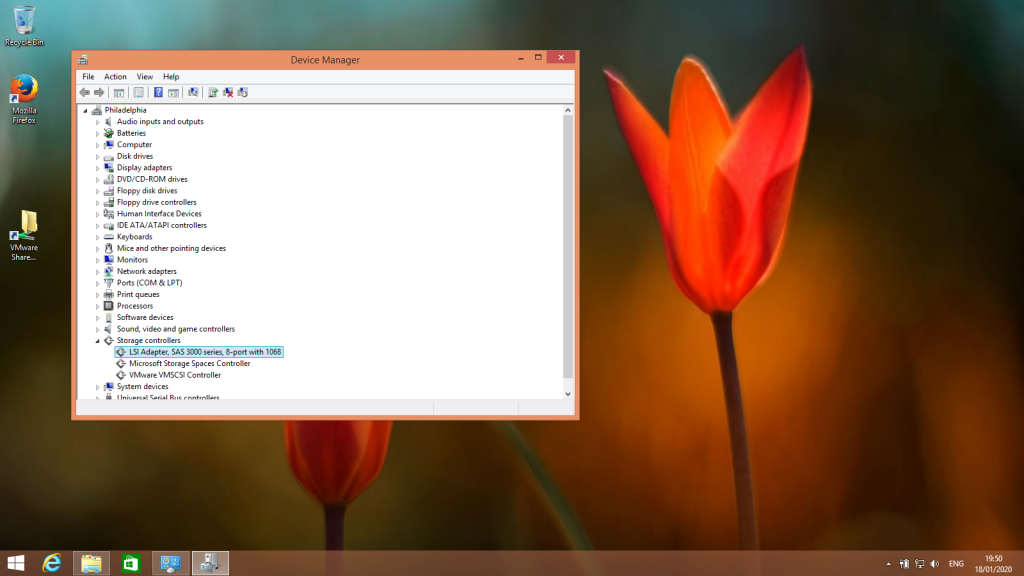
Boot your VM. If you followed the directions carefully, then the VM should still boot without any issues. Log in and verify that we have indeed loaded a new SCSI adapter. (Start menu -> right click -> Device Manager)

That was the tricky part.
Step 4: Remove the old scsi adapter and switch over to use the new one
Now shut down your VM again and go back to editing the .vmx file. (use our earlier steps).
Locate the lines for the old parallel LSI Logic or buslogic adapter and remove those lines. This will remove the adapter that is incompatible with Windows 10.
Then change the lines we added from scsi adapter 1 to scsi adapter 0.
Eg. change from:
scsi1.present = "TRUE"

scsi1.virtualDev = "lsisas1068"
into:
scsi0.present = "TRUE"

scsi0.virtualDev = "lsisas1068"
… and that’s it.
You should now be able to boot your VM with a new LSI SAS controller.
A scsi controller that is compatible with Windows 10.
Beware that changing the scsi controller might trigger the Windows Activation logic. Adding a controller and swapping them appears to be less of an issue. So if you trip up the activation Gods then that is my suggestion to try next.
Another problem you might bump into is:
“VMware SVGA 3D is not compatible with Windows 10.”
Normally that is just a warning with a button next to it that you can use to tell the installer to ignore this warning. After ignoring that you should be able to proceed. If there’s no “ignore this button” then have a look at the following KB article: https://kb.vmware.com/s/article/2126929
After you completed your upgrade to Windows 10 do not forget to change the guest OS type in VMware Fusion / Workstation from “Windows 7” to “Windows 10” and then re-install VMware Tools.
Now that you are here. Please check out our product “Vimalin“. It has been designed for making your life easier to get good backups of your VMs. We support VM’s running in VMware Fusion, VMware Workstation and VMware Player.
More info at our main page

One Comment
Technology Short Take 124 - s0x
[…] van Antwerpen helps readers with the migration of their virtual machines running Windows 7 to Windows 10. Specifically, […]